Blender 3d 4.2 LTS - Beginners Guide
Created on 23 July, 2024 • Insights & Articles • 4,858 views • 2 minutes read
This beginner's guide to Blender 4.2 LTS introduces you to the basics of 3D modeling, animation, and rendering. Learn how to install Blender, navigate the interface, create and manipulate objects, apply materials, set up lighting, and render your scene
Beginner's Guide to Blender 4.2 LTS
1. Introduction to Blender 4.2 LTS
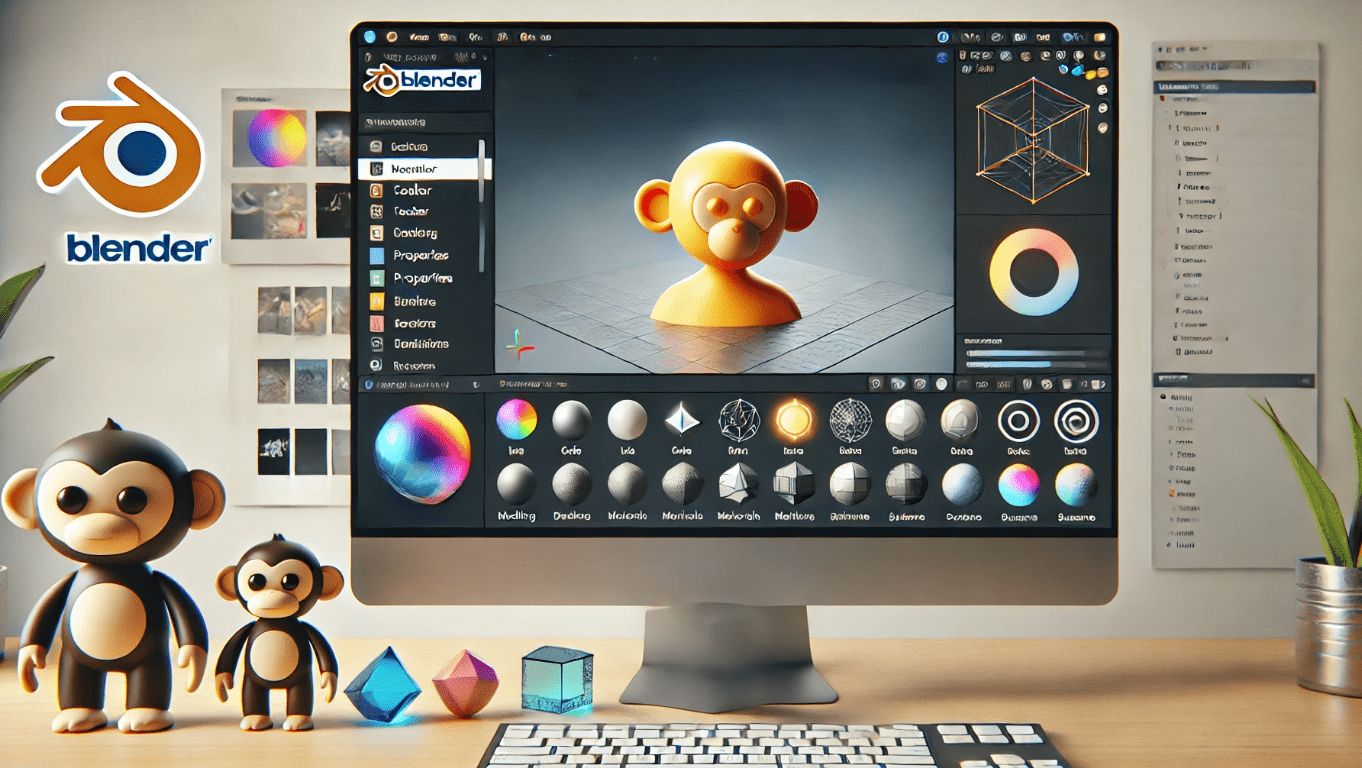
Blender is a powerful open-source 3D creation suite that supports the entire 3D pipeline, including modeling, sculpting, animation, rigging, rendering, compositing, and motion tracking. Blender 4.2 LTS (Long-Term Support) offers stability and continuous updates for two years.
2. Getting Started with Blender
a. Installation:
- Visit the Blender website to download Blender 4.2 LTS.
- Choose the appropriate version for your operating system (Windows, macOS, or Linux).
- Follow the installation instructions for your OS.
b. Interface Overview:
- Top Bar: Contains the file menu, render settings, and workspace tabs.
- 3D Viewport: The main area where you create and manipulate objects.
- Outliner: Shows a hierarchical view of all objects in your scene.
- Properties Panel: Contains tabs for various settings, such as render, object, and material properties.
- Timeline: Used for animation, displaying frames and keyframes.
3. Basic Navigation
a. Moving Around:
- Middle Mouse Button (MMB): Rotate the view.
- Shift + MMB: Pan the view.
- Scroll Wheel: Zoom in and out.
b. Shortcut Keys:
- G: Grab/move an object.
- R: Rotate an object.
- S: Scale an object.
- X, Y, Z: Constrain transformations to the X, Y, or Z axis.
4. Creating and Manipulating Objects
a. Adding Objects:
- Press Shift + A to open the Add menu.
- Select the type of object you want to add (e.g., Mesh > Cube).
b. Transforming Objects:
- Select an object by right-clicking or left-clicking (depending on your settings).
- Use G to move, R to rotate, and S to scale the object.
c. Edit Mode:
- Press Tab to switch between Object Mode and Edit Mode.
- In Edit Mode, use Ctrl + R to add edge loops, E to extrude faces, and K for the knife tool.
5. Basic Modeling Techniques
a. Extrusion:
- Select a face in Edit Mode.
- Press E to extrude the face and create new geometry.
b. Loop Cuts:
- Press Ctrl + R to add a loop cut.
- Move the cursor and click to confirm the cut, then slide it into position.
c. Subdivision Surface Modifier:
- Select an object and go to the Modifiers tab in the Properties Panel.
- Add a Subdivision Surface modifier to smooth the object.
- Adjust the levels of subdivision for desired smoothness.
6. Materials and Texturing
a. Adding Materials:
- Select an object and go to the Materials tab in the Properties Panel.
- Click New to create a new material.
- Adjust the material properties, such as Base Color, Metallic, and Roughness.
b. UV Unwrapping:
- In Edit Mode, select the faces you want to unwrap.
- Press U and choose a UV mapping method (e.g., Smart UV Project).
7. Lighting and Rendering
a. Adding Lights:
- Press Shift + A and choose Light > Point Light (or any other type of light).
- Adjust the light properties in the Light tab in the Properties Panel.
b. Rendering a Scene:
- Set up your camera view by pressing Numpad 0.
- Adjust the camera position and rotation as needed.
- Go to the Render tab in the Properties Panel and adjust the render settings.
- Press F12 to render the scene.
8. Basic Animation
a. Adding Keyframes:
- Select an object and go to the frame where you want to start the animation.
- Press I to insert a keyframe (e.g., Location, Rotation, Scale).
- Move to another frame and transform the object, then insert another keyframe.
b. Playing Animation:
- Use the Timeline to scrub through frames.
- Press the Play button to see the animation.
9. Saving and Exporting
a. Saving Your Work:
- Press Ctrl + S to save your Blender project (.blend file).
b. Exporting:
- Go to File > Export and choose a format (e.g., FBX, OBJ) to export your model.
That's the basics, will do more articles soon.
~Robert
Popular posts
-
RLX Auto Fitter AddonBlender Addons • 6,523 views
-
Blender 3d 4.2 LTS - Beginners GuideInsights & Articles • 4,857 views
-
Troubleshooting Blender Addon ConflictsInsights & Articles • 3,404 views
-
Art of BlockingInsights & Articles • 2,930 views
-